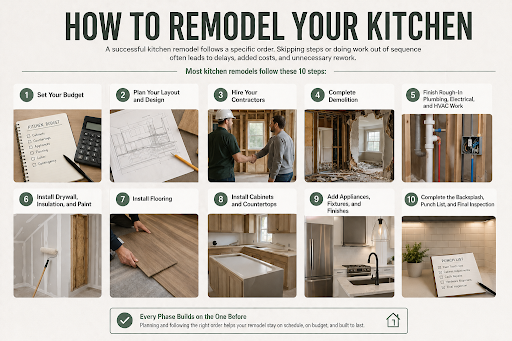
A successful kitchen remodel follows a specific order. Skipping steps or doing work out of sequence often leads to delays, added costs, and unnecessary rework.
Most kitchen remodels follow these 10 steps:
- Set your budget
- Plan your layout and design
- Hire your contractors
- Complete demolition
- Finish rough-in plumbing, electrical, and HVAC work
- Install drywall, insulation, and paint
- Install flooring
- Install cabinets and countertops
- Add appliances, fixtures, and finishes
- Complete the backsplash, punch list, and final inspection
When homeowners ask us about kitchen remodel steps, this is the process we typically walk them through.
Every phase builds on the one before it, which is why planning matters as much as construction.
Also Read:
How Much Does Hardwood Floor Installation Cost? (2026)
How to Find a Contractor for Home Renovations
What Are the Steps to Remodeling a Kitchen?
This is the question most homeowners ask.
And every time we tell them that the remodeling process actually starts long before the demolition begins.
The budget, layout, materials, and contractor schedule all need to be established before any work starts.
From there, the project moves through demolition, rough-in work, installation, and final inspection.
Doing the steps in the right order matters.
Installing flooring before cabinets, ordering cabinets before appliance specs are finalized, or starting demo before permits are approved can all lead to delays and added costs.
Most full kitchen renovations take about 8 to 16 weeks once construction starts, though larger projects may take longer.
Step 1: Set Your Budget Before You Do Anything Else
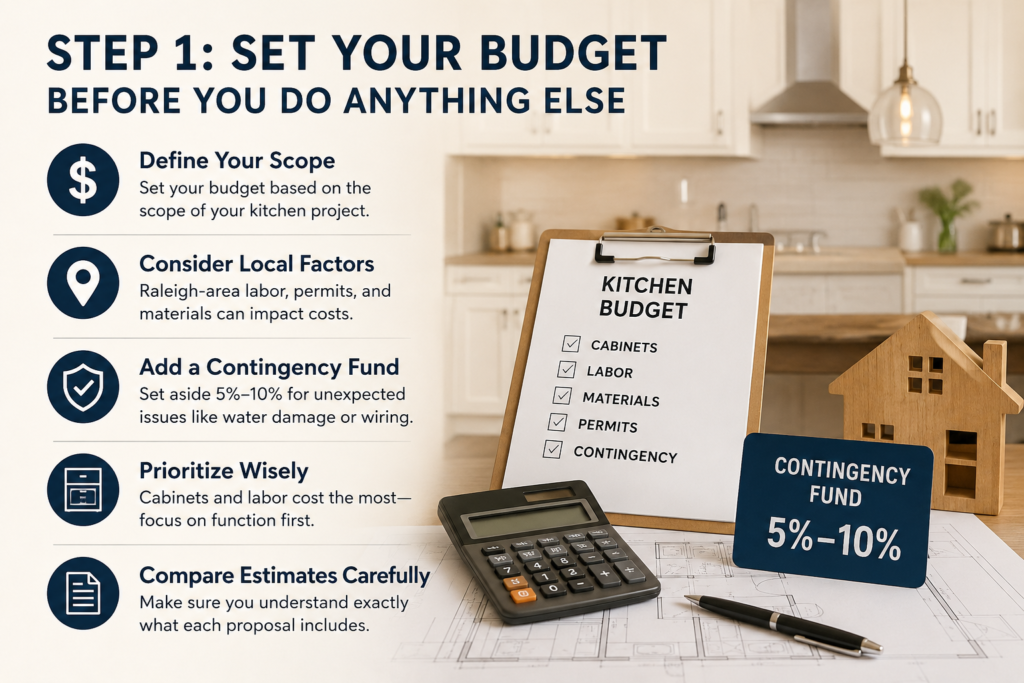
When we walk through a kitchen with a homeowner, one of the first things we look at is the scope of work. The budget determines whether the project is a cosmetic update, a layout change, or a full renovation.
In the Raleigh area, labor costs, permit requirements, and material selections can affect pricing significantly.
A kitchen that keeps the existing layout is usually less expensive than one that requires relocating plumbing, electrical systems, or walls.
We also recommend setting aside a 5%–10% contingency fund. Hidden issues like water damage, outdated wiring, or subfloor repairs often show up once demolition begins.
Cabinets and labor usually take the largest share of the budget, so it helps to prioritize function first and decorative upgrades second.
When comparing estimates from different contractors, it is important to understand exactly what each proposal includes.
Step 2: Plan Your Layout and Design
The design phase is where the major decisions are made before construction starts.
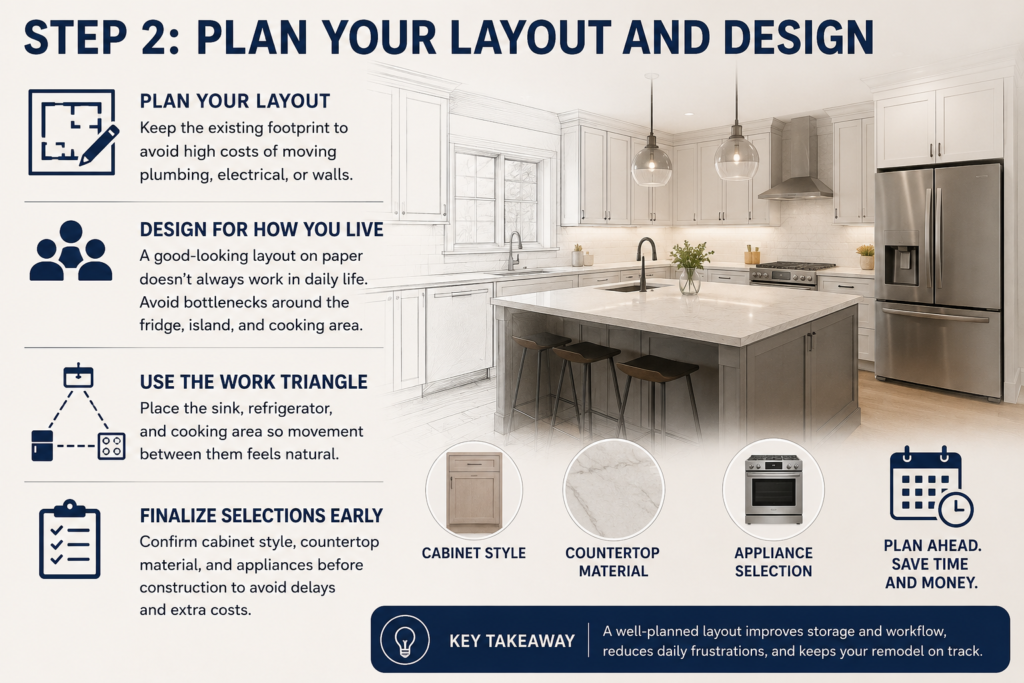
We usually recommend keeping the existing kitchen footprint, since moving plumbing lines, electrical circuits, and walls increases costs.
In many cases, a better layout within the same footprint can improve storage and workflow without major structural changes.
We often ask homeowners how they actually use the kitchen. A layout that looks good on paper does not always work well in daily life.
We usually see kitchens that look great but create bottlenecks around the refrigerator, island, or main cooking area during daily use.
Those traffic-flow issues may not seem obvious during the design phase, but they become noticeable once the kitchen is being used every day.
The kitchen work triangle is still a helpful guide. The sink, refrigerator, and cooking area should be placed so that movement between them feels natural.
Cabinet style, countertop material, and appliance selections should also be finalized early, since cabinet dimensions often depend on appliance specs.
We have seen projects delayed because cabinets were ordered before appliances were confirmed. Finalizing decisions before construction begins saves time and money.
Step 3: Hire Your Contractors Early
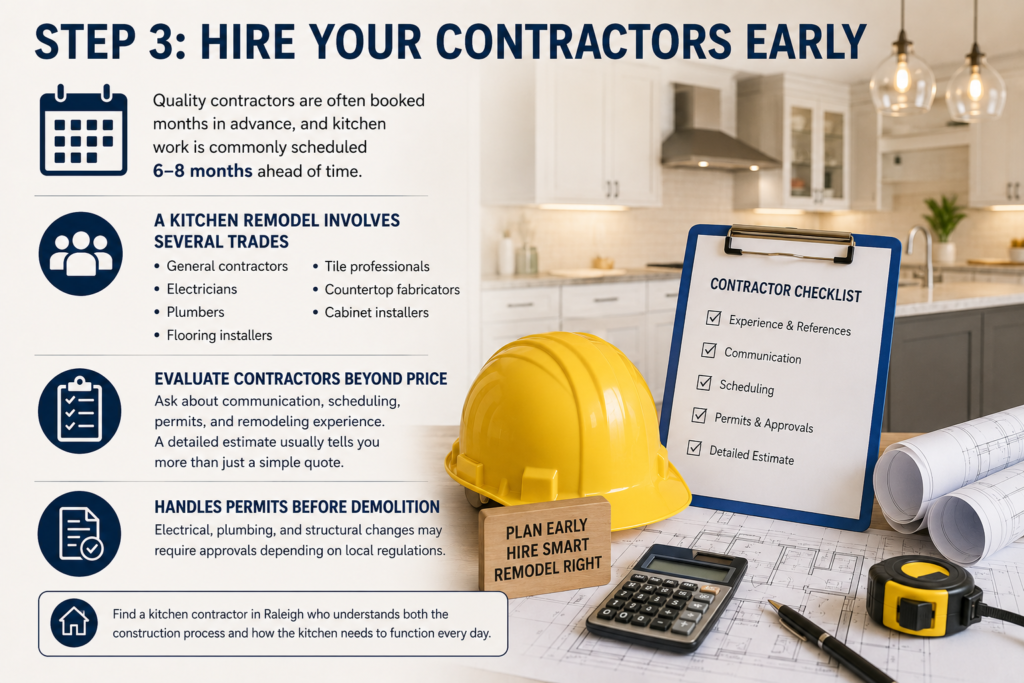
One issue we regularly see is homeowners waiting until design decisions are finalized before contacting contractors. By then, quality contractors may already be booked months out.
Quality contractors are often booked months in advance, and kitchen work is commonly scheduled six to eight months ahead of time.
A kitchen remodel usually involves several trades, including:
- General contractors
- Electricians
- Plumbers
- Flooring installers
- Tile professionals
- Countertop fabricators
- Cabinet installers
When evaluating contractors, look beyond price. Ask about communication, scheduling, permits, and remodeling experience.
A detailed estimate usually tells you more than just a simple quote.
Permits should also be handled before demolition starts. Electrical, plumbing, and structural changes may require approvals depending on local regulations.
For homeowners researching kitchen contractors in Raleigh, it is important to find a contractor who understands both the construction process and how the kitchen needs to function every day.
Step 4: Demo Day (What to Expect)
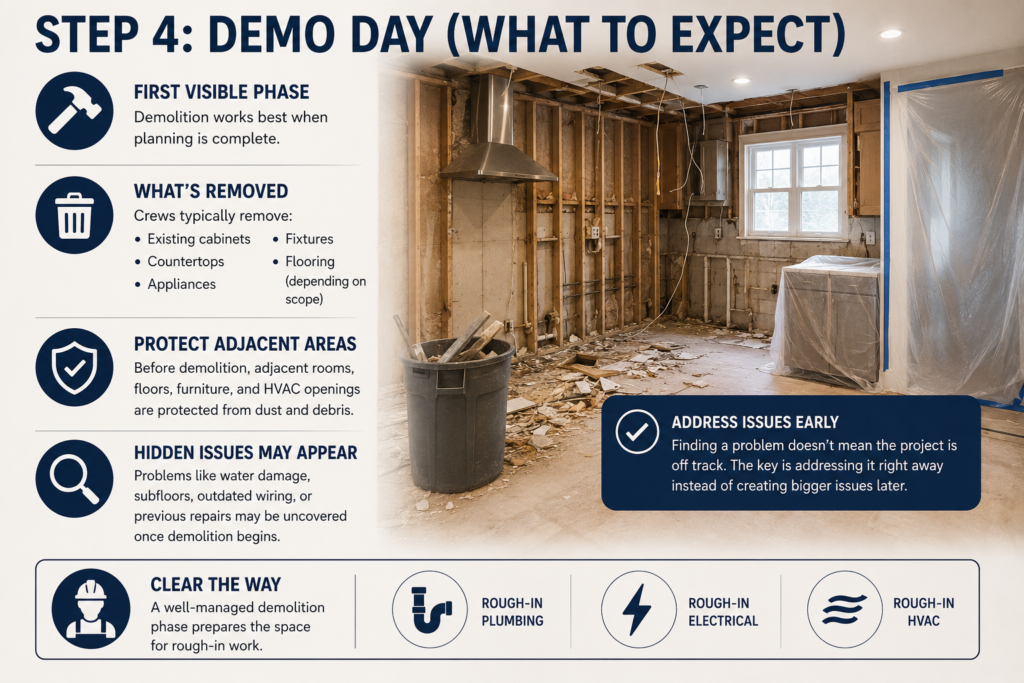
Demolition is the first visible phase of construction, but it works best when the planning is already complete.
During demolition, crews typically remove:
- Existing cabinets
- Countertops
- Appliances
- Fixtures
- Flooring, depending on the project scope
Before demolition begins, adjacent rooms should be protected from dust and debris. Floors, furniture, and HVAC openings often need temporary covering.
This is also the stage where hidden problems become visible.
At A Hammer and Nail Construction, we often uncover issues that were not visible during the initial walkthrough, such as water damage, deteriorated subfloors, outdated wiring, or previous repair work.
Finding a problem does not mean the project is off track. The key is addressing it right away instead of covering it up and creating larger issues later.
A well-managed demolition phase clears the way for rough-in plumbing, electrical, and HVAC work.
Step 5: Rough-In Work: Plumbing, Electrical, and HVAC
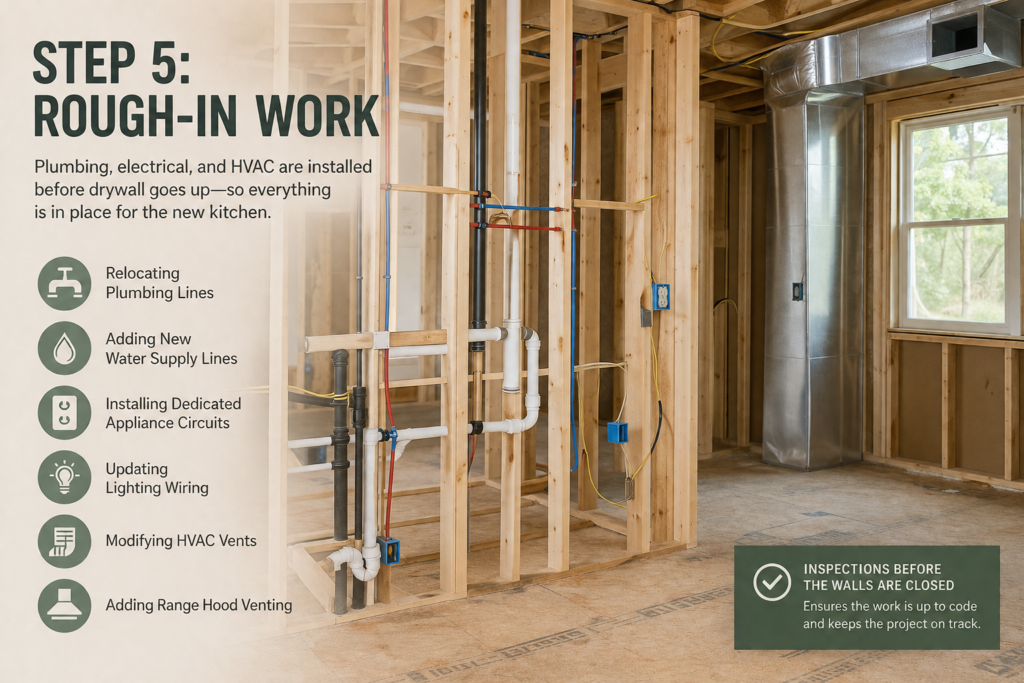
Rough-in work happens after demolition and before drywall because the mechanical systems need to be installed while the walls are open.
This phase covers plumbing, electrical, and HVAC changes tied to the new kitchen layout, such as moving a sink, adding outlets, or venting a range hood.
In older homes, we often find wiring or circuits that need to be updated before the remodel can continue.
In kitchens where the layout is changing, this phase often takes longer than homeowners expect because multiple trades may be working in the same area.
- Relocating plumbing lines
- Adding new water supply lines
- Installing dedicated appliance circuits
- Updating lighting wiring
- Modifying HVAC vents
- Adding range hood venting
Inspections usually happen before the walls are closed, so the work can move forward without delays.
Step 6: Drywall, Insulation, and Painting
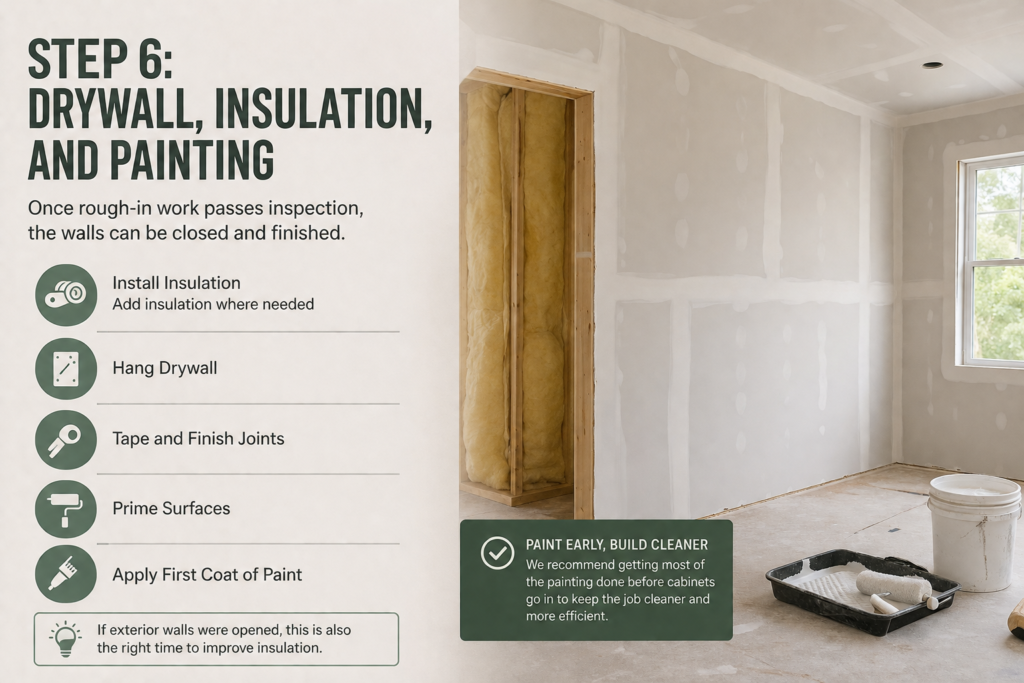
Once rough-in work passes inspection, the walls can be closed and finished.
This stage usually follows this order:
- Install insulation where needed
- Hang drywall
- Tape and finish joints
- Prime surfaces
- Apply the first coat of paint
If exterior walls were opened, this is also the right time to improve insulation. We usually recommend getting most of the painting done before cabinets go in, so the job stays cleaner and faster.
Step 7: Flooring Installation
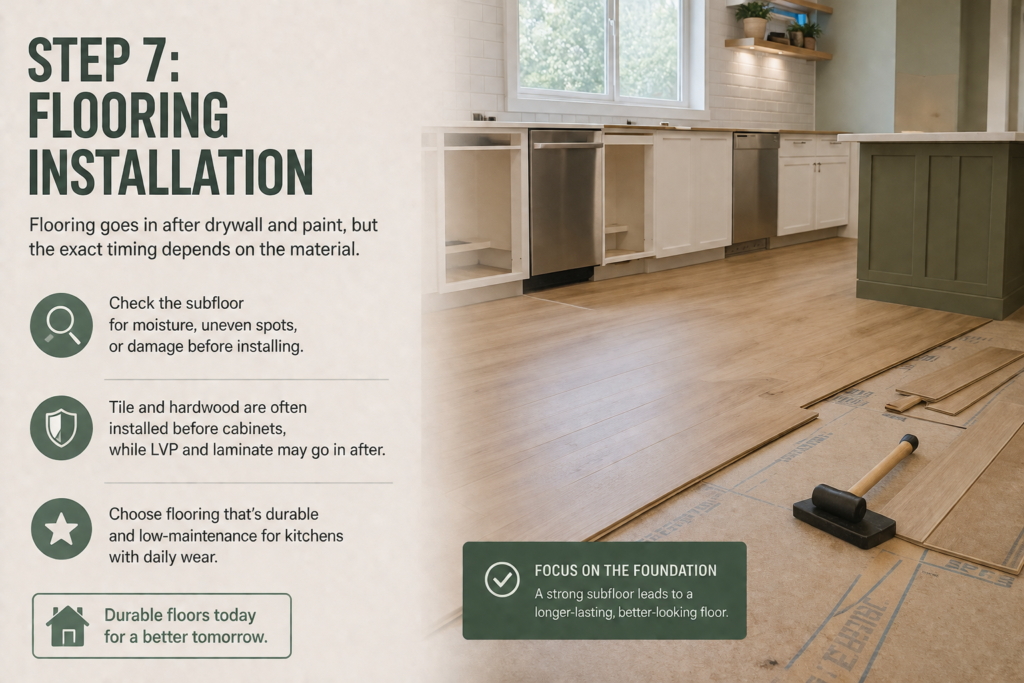
Flooring goes in after drywall and paint, but the exact timing depends on the material.
One of the most common flooring issues we encounter is homeowners focusing on the finished material while overlooking the condition of the subfloor underneath.
Tile and hardwood are often installed before cabinets, while LVP and laminate may go in after.
Before any flooring is installed, the subfloor needs to be checked for moisture, uneven spots, or damage.
Homeowners choosing floor installation in Raleigh NC, should focus on durability and maintenance as much as appearance, since kitchens take a lot of daily wear.
Step 8: Cabinet and Countertop Installation
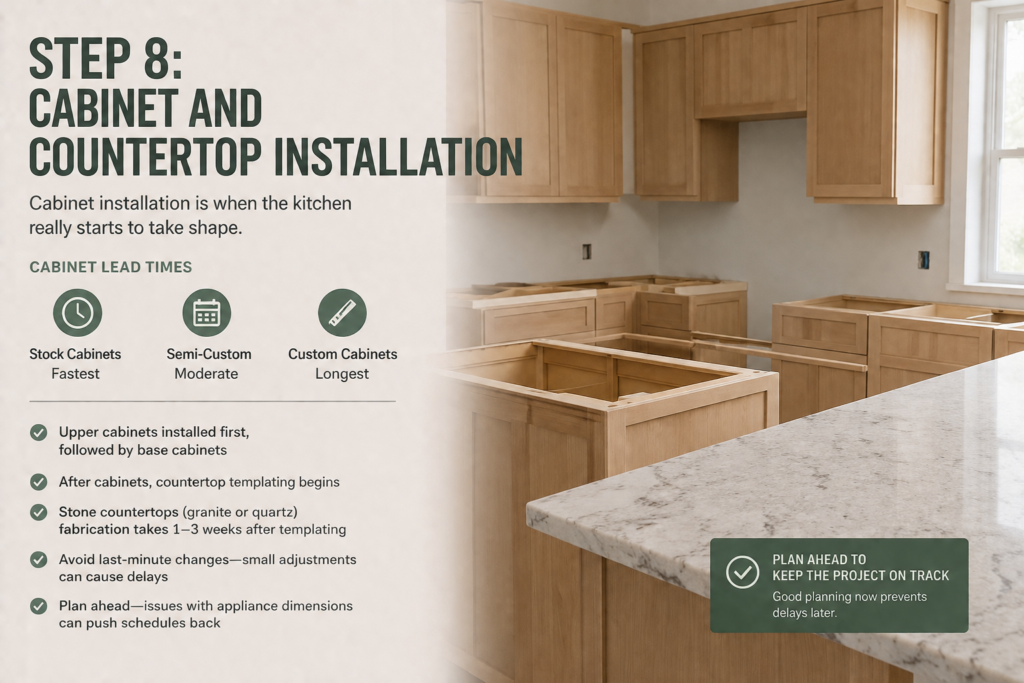
Cabinet installation is when the kitchen really starts to take shape.
Lead times vary by cabinet type:
- Stock cabinets: usually the fastest
- Semi-custom cabinets: moderate lead time
- Custom cabinets: often the longest
Upper cabinets are typically installed first, followed by base cabinets. After that, countertop templating can begin.
For stone countertops like granite or quartz, fabrication usually takes one to three weeks after the template is made.
At this stage, it is important to avoid last-minute changes because even small adjustments can delay the rest of the project.
We regularly see project schedules pushed back because cabinet orders were placed before appliance dimensions were finalized.
Step 9: Appliances, Fixtures, and Final Touches
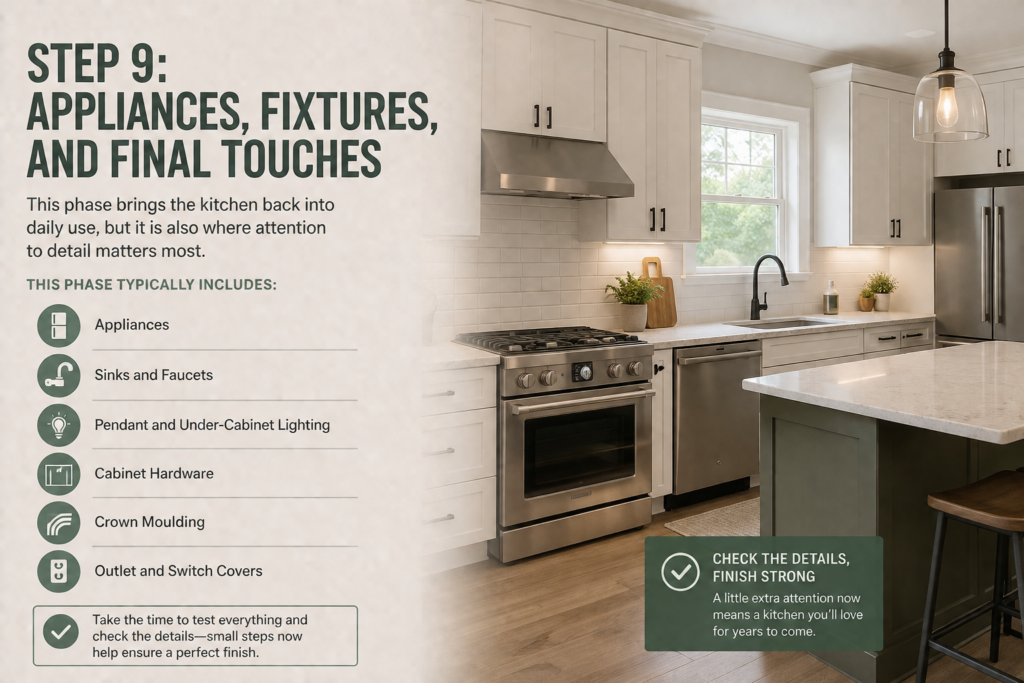
This phase brings the kitchen back into daily use, but it is also where attention to detail matters most.
Appliances, fixtures, and finishing details are installed after cabinets and countertops are complete.
This phase typically includes:
- Appliances
- Sinks and faucets
- Pendant and under-cabinet lighting
- Cabinet hardware
- Crown moulding
- Outlet and switch covers
At A Hammer and Nail Construction, we often see homeowners rush through this stage because the kitchen looks nearly finished.
Taking the time to check appliance operation, fixture placement, cabinet alignment, and lighting helps catch small issues before the project wraps up.
Step 10: Backsplash, Punch List, and Final Inspection
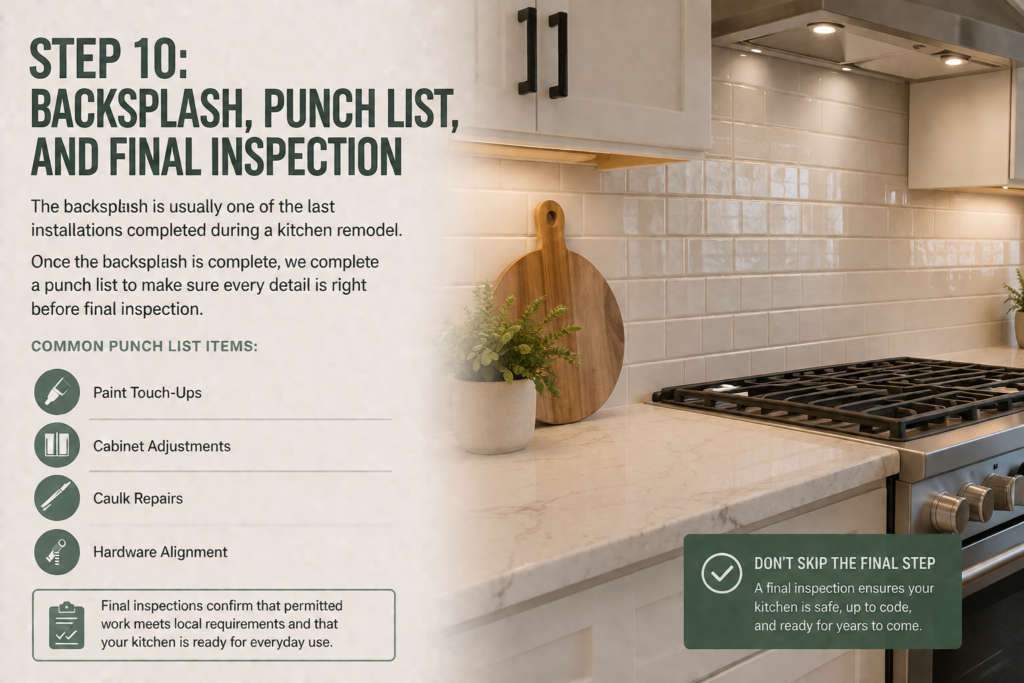
The backsplash is usually one of the last installations completed during a kitchen remodel.
Once it is finished, the project moves into the punch list phase. At A Hammer and Nail Construction, we walk through the kitchen with the homeowner and identify any items that need adjustment before the project is considered complete.
Common punch list items include:
- Paint touch-ups
- Cabinet adjustments
- Caulk repairs
- Hardware alignment
Any required final inspections should also be completed at this stage. We encourage homeowners not to skip this step.
Final inspections help verify that permitted work meets local requirements and that the project is truly ready for everyday use.
You May Also Like:
Raleigh Building Permit Guide for Homeowners
What Is the Best Way to Install Hardwood Floors?
The Biggest Mistakes People Make During a Kitchen Remodel
Many kitchen remodel delays and budget overruns come back to a few common mistakes.
These are some of the issues we see most often:
- Ordering cabinets before appliance specifications are finalized. Appliance dimensions affect cabinet sizing, clearances, and layout decisions.
- Starting work before permits are approved. Permit issues can slow down the project and create unnecessary complications.
- Not planning for a temporary kitchen. Limited access to appliances, sinks, and storage can make daily routines more difficult during construction.
- Choosing finishes before finalizing the layout. The layout determines how the kitchen functions, while finishes come later.
- Hiring based solely on price. A lower estimate does not always include the same scope of work, materials, or preparation.
For homeowners planning home remodeling in Raleigh NC, addressing these issues early can help keep the project on schedule and avoid unnecessary costs.
How Long Does a Kitchen Renovation Take?
The exact timeline depends on project complexity, material lead times, permit requirements, and whether structural changes are involved.
Typical Kitchen Remodel Timeline
| Phase | Estimated Time |
| Planning and Designing | 4-12 Weeks |
| Demolition and Rough-in Work | 1-2 Weeks |
| Drywall and Painting | About 1 Week |
| Flooring Installation | Several Days to 1 Week |
| Cabinet and Countertop Installation | 2– 4 weeks |
| Fixture and Final Details | 1– 2 weeks |
Most full kitchen remodels take 8–16 weeks once construction begins. Material lead times, permit approvals, and layout changes can extend the schedule. We encourage homeowners to make major decisions early because changes during construction often create delays.
Should You DIY or Hire a Kitchen Contractor?
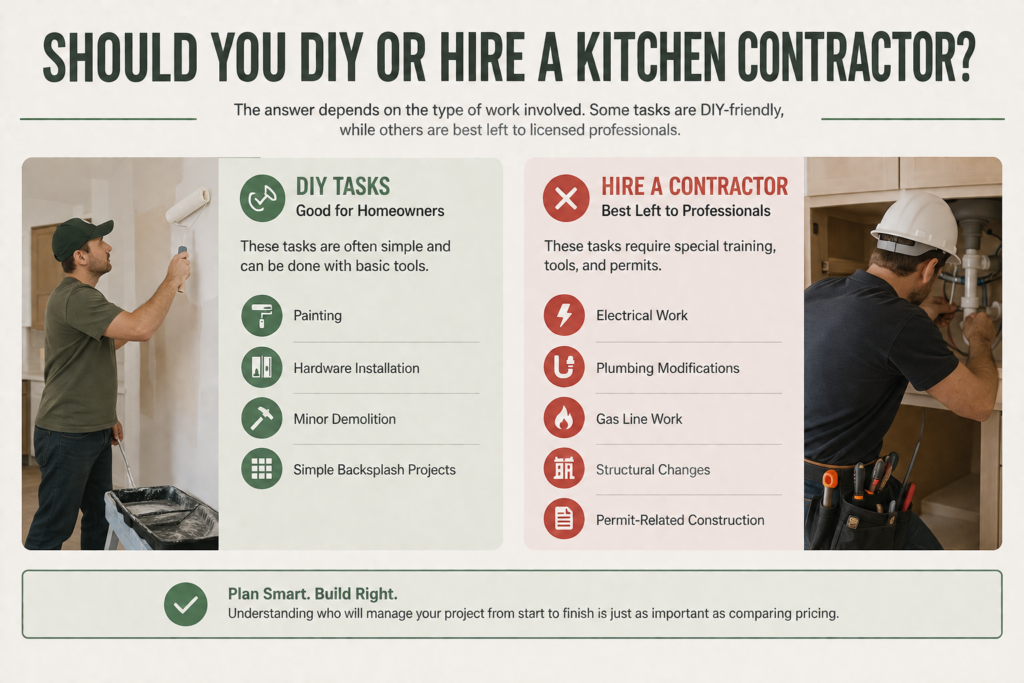
The answer depends on the type of work involved.
Some tasks can be reasonable DIY projects for homeowners who are comfortable with basic tools and home improvement work.
Examples include:
- Painting
- Hardware installation
- Minor demolition
- Simple backsplash projects
Other tasks are better left to licensed professionals.
- Electrical work
- Plumbing modifications
- Gas line work
- Structural changes
- Permit-related construction
Understanding who will manage the project from start to finish is just as important as comparing pricing.
How to do a Kitchen Remodel on a Budget
A smaller budget does not necessarily mean postponing a kitchen update altogether.
When homeowners ask us how to stretch a remodeling budget, we usually focus on improvements that provide the biggest impact without requiring a complete renovation.
Some cost-effective upgrades include:
- Painting existing cabinets
- Replacing cabinet hardware
- Installing new lighting
- Updating faucets and fixtures
- Choosing LVP flooring instead of hardwood
- Refinishing rather than replacing certain components
We also encourage homeowners to separate “must-have” upgrades from “nice-to-have” upgrades before construction begins.
A kitchen remodel involves hundreds of decisions, but following the right sequence helps the process stay organized from planning through final inspection.
At A Hammer and Nail Construction, we focus on creating kitchens that work well in daily life, not just on installation day. A well-planned remodel can improve workflow, storage, and usability while creating a space that works better for your home.